 Pin It
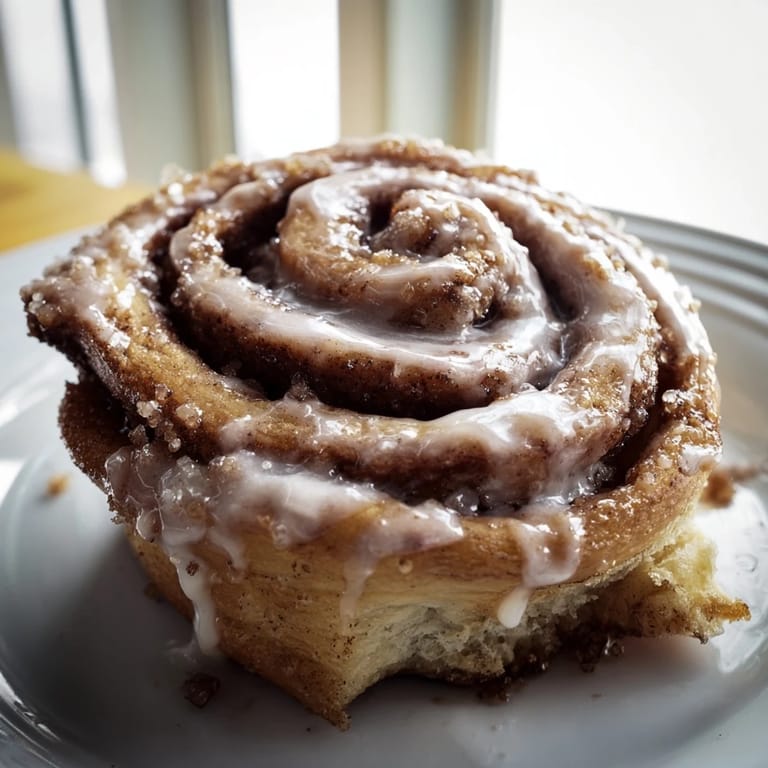
 There's something about the smell of cinnamon rolls baking that makes everything feel like a special occasion, even on a Tuesday morning. I discovered this recipe during a particularly rough week when my sister called to say she was driving through town, and I wanted to have something warm waiting for her. The dough came together easily, and by the time she arrived, the kitchen was filled with that unmistakable aroma that somehow makes all the small stresses of life feel manageable.
I remember my partner sneaking a warm roll from the cooling rack before I'd even finished drizzling the glaze, then offering me a bite of his with that guilty look that made us both laugh. That moment taught me these rolls have a quiet magic—they turn an ordinary Sunday into something worth remembering, especially when shared.
Ingredients
- All-purpose flour: Four cups is your foundation, and it matters that you measure by weight if possible since flour can pack down unevenly.
- Active dry yeast: Make sure yours is still within the best-by date, and lukewarm milk activates it perfectly, not hot enough to kill it.
- Whole milk: Lukewarm means around body temperature—it's the sweet spot where yeast wakes up happily.
- Granulated sugar and brown sugar: The granulated sugar feeds the yeast during rising, while the brown sugar in the filling creates those pockets of deep, molasses-forward flavor.
- Unsalted butter: Melted for the dough, softened for spreading—having both states ready means the process flows smoothly.
- Egg and salt: The egg adds richness and helps bind everything, while salt keeps the yeast from running wild and balances the sweetness.
- Ground cinnamon: Don't skip quality here; it's the star of the filling and makes a real difference in the final taste.
- Powdered sugar and vanilla: These create that silky glaze that catches the warmth of the rolls and melts slightly into each crevice.
Tired of Takeout? 🥡
Get 10 meals you can make faster than delivery arrives. Seriously.
One email. No spam. Unsubscribe anytime.
Instructions
- Wake up the yeast:
- Combine lukewarm milk with your yeast in a small bowl and let it sit for about 5 minutes until it becomes frothy and alive-looking. This is your signal that fermentation is ready to begin.
- Build your dough:
- Mix flour, sugar, and salt in a large bowl, then add the melted butter, egg, and your yeasty milk mixture. Stir until everything comes together into a shaggy dough that's ready to be worked.
- Knead with intention:
- Knead on a lightly floured surface for 8 to 10 minutes until the dough becomes smooth and elastic, releasing a slightly sweet smell. It should feel soft and alive under your hands, not stiff or sticky.
- First rise:
- Place the dough in a greased bowl, cover it with a damp cloth, and let it rest in a warm spot for about an hour until it's roughly doubled in size. This patience is what creates those tender, pillowy crumbs.
- Shape the rolls:
- Punch down the dough gently and roll it into a 16 by 12 inch rectangle on a floured surface. The thickness should feel substantial but not thick as bread; you're aiming for something that will spiral nicely.
- Fill with love:
- Spread softened butter across the entire rectangle, then scatter your cinnamon-sugar mixture evenly over the top. Don't be shy with the filling; this is where the magic happens.
- Roll and slice:
- Starting from the long side, roll the dough tightly into a log, sealing the edge as you go. Using a serrated knife or even unflavored dental floss makes clean cuts without squishing the spirals.
- Second rise:
- Arrange your sliced rolls in a greased 9 by 13 inch baking dish, cover loosely, and let them puff up for 30 to 45 minutes. They should look swollen and almost touching by the time you're ready to bake.
- Bake to golden:
- Preheat your oven to 350°F and bake the rolls for 22 to 25 minutes until the tops turn deep golden brown. The kitchen will smell impossibly good by minute 20.
- Glaze while warm:
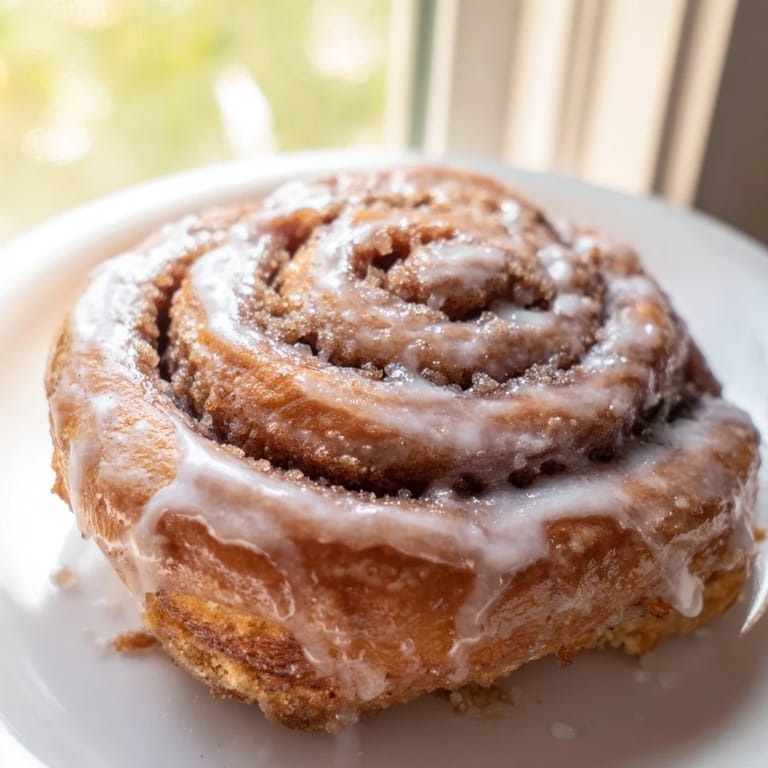
- While the rolls cool just slightly, whisk powdered sugar, milk, and vanilla extract until you have a pourable glaze. Drizzle it generously over the warm rolls so it finds its way into every crevice and soft spiral.
 Pin It
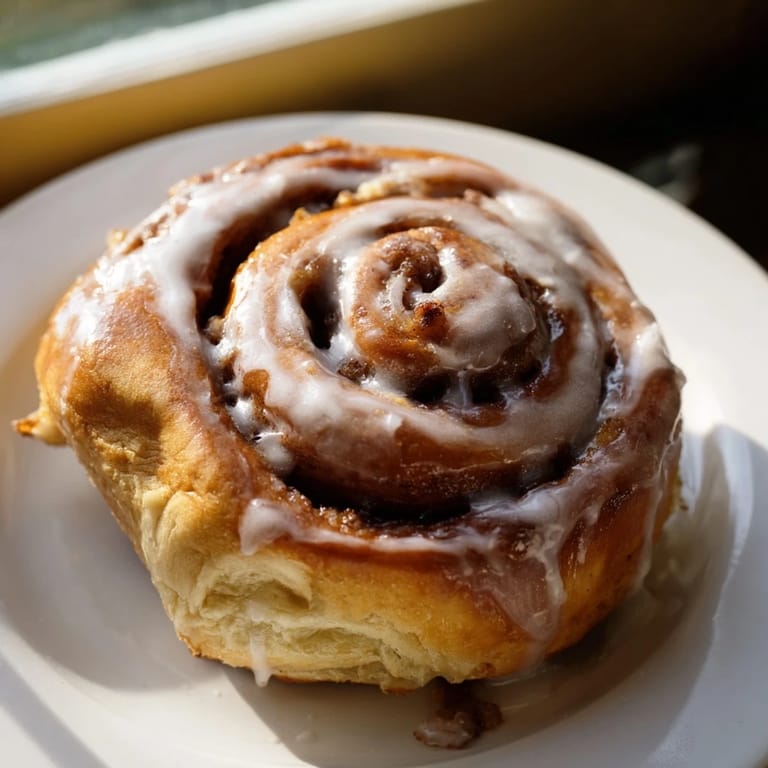
 I learned the hard way that these rolls announce when they're done not by looking perfect but by smelling absolutely incredible, at which point you have maybe five minutes before they start to brown too much. That moment of pulling them from the oven, that brief window where they're still steaming and the glaze is about to set, feels like success in its purest form.
The Rise: Why Time Matters Here
The first rise is where the flour transforms into something living and airy, and there's no way to rush it without losing the texture that makes these rolls worth making. I used to try to speed things up with a warmer spot, but I discovered that a slow, steady rise at room temperature creates a more complex flavor and better texture. The second rise is equally important; your rolls should nearly touch each other in the pan, which creates steam during baking that keeps them incredibly moist and tender.
Customizing Your Filling
While the classic cinnamon-sugar filling is nearly perfect as is, I've found that a tablespoon or two of finely chopped pecans adds a subtle crunch that plays beautifully against the soft dough. Some mornings I add a pinch of nutmeg to the cinnamon mixture for a slightly warmer spice note, or I'll toast the nuts first to deepen their flavor. The beauty of this recipe is that small additions enhance rather than overshadow the delicate balance you've already built.
Storing and Reheating Like a Pro
These rolls stay fresh on the counter for a day or wrapped loosely on the second day, and they reheat beautifully by wrapping them in foil and warming them gently in a 300°F oven for about 10 minutes. I've learned that storing them in an airtight container at room temperature preserves their moisture better than the fridge, where they can dry out. If you want rolls for tomorrow morning, you can prepare the dough and filling the night before, assemble everything in the baking dish, and let it do its second rise in the fridge overnight; just pull it out 30 minutes before baking to come to room temperature.
- Refrigerated rolls wrapped individually can be reheated one at a time in the microwave for 20 to 30 seconds if you're in a hurry.
- Freezing baked rolls works well too; thaw and reheat them the same way as refrigerated ones.
- Never throw away day-old rolls; they make incredible bread pudding or French toast.
 Pin It
 There's something deeply human about making cinnamon rolls from scratch; it's a small act of care that fills your home with goodness. I hope these rolls become part of your own kitchen memories, whether you're making them for someone special or simply treating yourself on a morning that needs a little extra comfort.
Recipe FAQs
- → How do I ensure the dough rises properly?
Use lukewarm milk when activating the yeast and allow the dough to rise in a warm, draft-free area until doubled in size for soft, airy rolls.
- → Can I add nuts or other fillings?
Yes, chopped nuts or raisins can be sprinkled over the cinnamon sugar filling for added texture and flavor.
- → What’s the best method to slice the rolled dough evenly?
Use a serrated knife or dental floss to slice the rolled dough into even portions without squishing the layers.
- → How do I make the glaze smooth and creamy?
Whisk powdered sugar with milk and vanilla extract until the mixture is smooth and pourable, then drizzle over warm buns.
- → Can these buns be reheated without drying out?
Yes, gently warm leftovers in the oven or microwave, covered lightly, to retain softness and moisture.