 Pin It
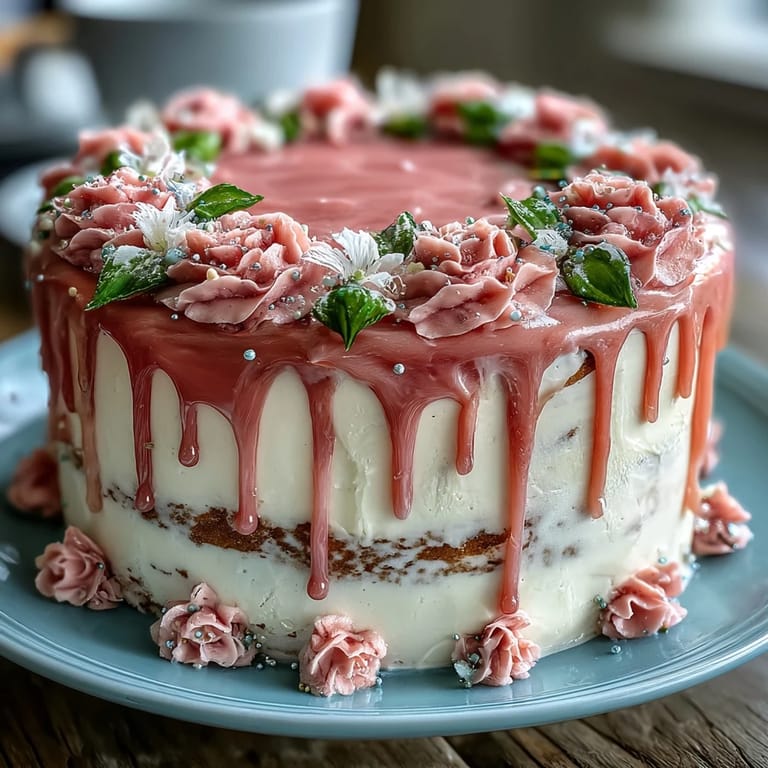
 My friend Sarah called me in a panic two weeks before her graduation, voice crackling with excitement and terror in equal measure. She needed a cake that would celebrate both her Taurus stubbornness and her hard-won diploma, something that looked like it belonged in a gallery but tasted like home. I'd never piped flowers before, but watching her describe what she wanted—delicate petals in soft pinks and purples, maybe some gold for that celestial Taurus vibe—I knew I had to try. That afternoon in my kitchen, flour dust catching the sunlight, I learned that sometimes the most meaningful desserts are the ones you create alongside someone else's joy.
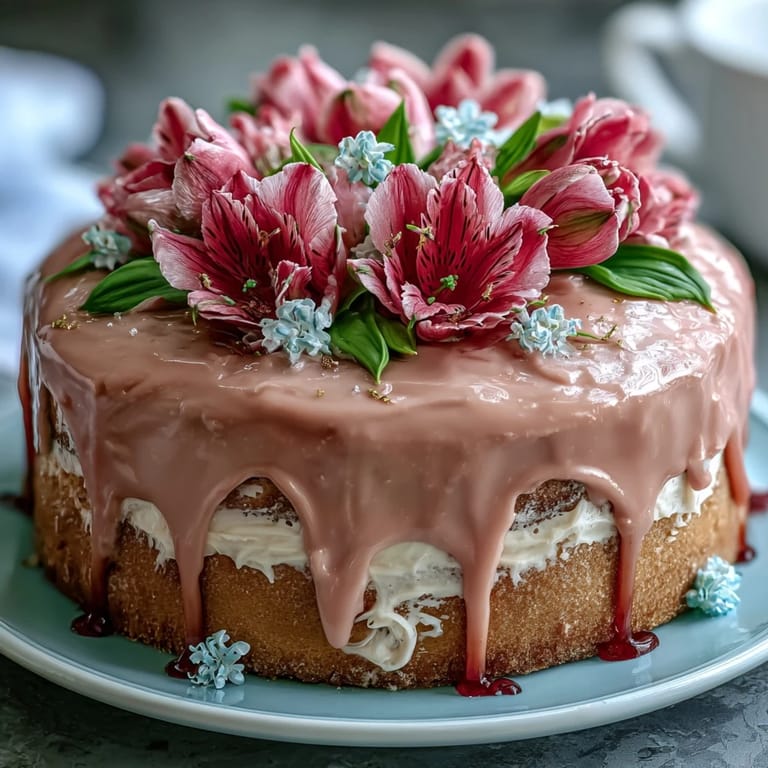
I'll never forget setting that finished cake on Sarah's dining room table, stepping back, and seeing her eyes go wide. Her mom actually gasped, which doesn't happen often. But the real moment came when we cut into it and people tasted how buttery and moist it was underneath all that elegance—someone said it tasted like a celebration felt, and honestly, that's when I knew this recipe was something special to keep making.
Ingredients
- All-purpose flour (2 1/2 cups): The foundation that keeps everything tender; sifting it once before measuring prevents a dense, heavy cake.
- Baking powder (2 1/2 tsp): Don't skip checking the expiration date, as stale baking powder means flat, disappointed layers.
- Salt (1/2 tsp): The secret whisper that makes vanilla taste more like vanilla—don't omit it even though you won't taste it directly.
- Unsalted butter (1 cup for cake, 1 1/2 cups for frosting): Room temperature butter creams into clouds; cold butter stays stubborn and grainy no matter how long you beat it.
- Granulated sugar (2 cups): Creates that light, fluffy crumb when beaten with butter until it looks almost pale and pillowy.
- Eggs (4 large, room temperature): Cold eggs won't incorporate smoothly into the batter, creating a separated, curdled mixture that bakes unevenly.
- Pure vanilla extract (1 tbsp for cake, 2 tsp for frosting): The vanilla is your flavor anchor, so use pure extract rather than imitation—it makes a noticeable difference.
- Whole milk (1 cup, room temperature): Adds moisture and richness; alternating it with flour prevents the batter from becoming grainy or overmixed.
- Powdered sugar (5 cups, sifted): Sifting removes lumps that would create a gritty frosting texture no matter how hard you beat it.
- Heavy cream or milk (2-4 tbsp): Controls frosting consistency; add slowly because you can always add more but you can't take it back.
- Gel food coloring (various floral shades): Gel won't thin out your frosting like liquid coloring does, keeping the consistency perfect for piping.
- Edible gold leaf or gold sprinkles (optional): A tiny touch transforms the cake from pretty to memorable, especially for that Taurus symbol accent.
Tired of Takeout? 🥡
Get 10 meals you can make faster than delivery arrives. Seriously.
One email. No spam. Unsubscribe anytime.
Instructions
- Prepare your pans and preheat:
- Set your oven to 350°F and let it warm while you grease three 8-inch round pans, line them with parchment paper, and grease the parchment too. This extra step prevents sticking and ensures those layers release cleanly onto cooling racks.
- Combine your dry ingredients:
- Whisk flour, baking powder, and salt together in a medium bowl; this distributes the leavening evenly so you don't get dense pockets in some layers and holes in others. Set it aside and forget about it for now.
- Cream butter and sugar into fluffy clouds:
- Beat softened butter and sugar together for 3-4 minutes until the mixture turns pale, thick, and looks almost like wet sand. This creaming action is where the cake gets its tender crumb, so don't rush it even though your mixer arm gets tired.
- Add eggs slowly and intentionally:
- Drop eggs in one at a time, beating well after each addition until you see no streaks; rushing this step or adding them all at once can break the emulsion and create a curdled batter. Trust the process and be patient.
- Mix in vanilla and alternate your wet and dry ingredients:
- Add the vanilla extract, then add the flour mixture and milk in three batches—flour, milk, flour, milk, flour—mixing just until you see no white streaks. Overmixing develops gluten, turning your cake tough and dense, so stop as soon as everything comes together.
- Divide batter evenly and bake:
- Pour batter equally into the three prepared pans and smooth the tops; bake for 28-35 minutes until a toothpick inserted in the center comes out clean with no batter clinging to it. The layers should spring back slightly when you touch the center.
- Cool with patience:
- Leave cakes in their pans for exactly 10 minutes so they firm up enough to turn out without crumbling, then transfer to wire racks and let them cool completely at room temperature. Warm cake is fragile cake, so don't skip this step no matter how eager you are to decorate.
- Beat buttercream until it's fluffy and smooth:
- Cream softened butter on medium speed for a minute, then gradually add sifted powdered sugar, beating between additions until no lumps remain. Add vanilla and 2 tablespoons of cream, then beat for another 3-4 minutes until the frosting looks light and spreadable.
- Adjust frosting consistency with care:
- If your frosting is too thick, add heavy cream one tablespoon at a time and beat well; too-thin frosting won't pipe properly. Test by lifting the beater and seeing if the frosting holds a stiff peak.
- Tint your frosting for floral designs:
- Divide the buttercream into bowls and add gel food coloring drop by drop, stirring until each color is even and vibrant. Keep your colors slightly muted for that elegant, natural floral look.
- Level and layer the cooled cakes:
- Use a serrated knife or cake leveler to trim any domes off the tops if they rose unevenly, creating flat surfaces that stack securely. Place the first layer on your serving plate and spread an even layer of buttercream on top.
- Build the cake with steady hands:
- Repeat with the second layer of cake and frosting, then add the third layer and press gently so everything settles without squishing the frosting out the sides. Take a breath—you're almost there.
- Crumb coat and chill:
- Spread a thin layer of plain buttercream all over the cake to seal in any crumbs, then refrigerate for 20 minutes so this base layer sets. This step is what separates a homemade-looking cake from a professional-looking one.
- Apply your final frosting coat:
- Spread a thicker, final layer of buttercream smoothly over the entire cake using an offset spatula, working in long, confident strokes. A turntable makes this easier, but you can also rotate the plate slowly on the counter.
- Pipe your floral designs with creativity:
- Fill piping bags with your tinted frostings and attach floral tips, then pipe roses, peonies, leaves, and vines around the cake in whatever pattern feels right. Start with the flowers you care least about so you can practice before moving to the focal points.
- Add personalized touches:
- Pipe a small Taurus symbol or graduation cap accent somewhere prominent, then dust with edible gold leaf or sprinkles to tie the whole theme together. Step back and admire what you've created.
- Chill until serving time:
- Refrigerate the finished cake until you're ready to serve, then bring it to room temperature for 30 minutes before slicing so the frosting isn't too firm and the cake is at its most tender. Cold cake is harder to cut cleanly, but room temperature cake slices like butter.
 Pin It
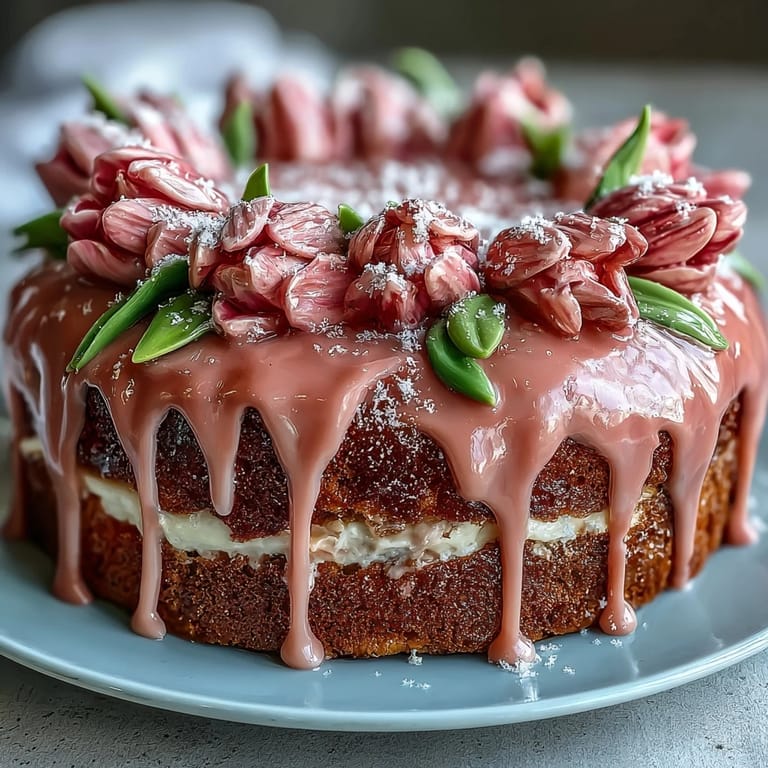
 Three weeks after Sarah's graduation, she sent me a photo of the cake's last slice sitting on her kitchen counter, a tiny piece of edible gold still clinging to the buttercream. She'd cut into it at her family dinner and apparently everyone went quiet for a moment when they tasted how buttery and perfect it was, and in that silence she said she felt celebrated in a way that mattered. That's when I understood this cake wasn't really about the baking—it was about showing someone you believe in their becoming.
Why This Cake Works for Big Moments
A celebration cake needs to be sturdy enough to survive the trip to the party, beautiful enough to make someone cry a little when they see it, and delicious enough that people forget about the calories for just one afternoon. This vanilla cake hits all three because the buttery base is forgiving even when you're nervous, the frosting pipes beautifully once you trust your hands, and the flavor is classic enough that nobody's judging your decorating technique—they're too busy enjoying how it tastes. The floral buttercream design lets you express personality without needing a pastry degree, and honestly, slightly imperfect flowers look more charming and real than perfect ones ever could.
Flavor Variations to Match the Celebration
If Sarah had asked for something different, I would've customized this cake because the base is that flexible. Adding almond extract to the batter creates a subtle nod to classical European baking and makes the vanilla taste deeper and more complex. You could also fold in lemon zest for brightness, or replace half the vanilla with a bit of almond liqueur for something more grown-up. The buttercream can shift from pure vanilla to a lavender-infused frosting by steeping dried culinary lavender in the heavy cream before adding it, creating flowers that taste like what they look like.
Decorating Confidence and Color Combinations
The first time you fill a piping bag, your hand will probably shake because suddenly you're holding the tool that separates a cake from a showstopper, and that's pressure. But flowers are forgiving because nature itself is imperfect, so a rose that doesn't look quite right still reads as a rose. Choose colors that matter to your person—school colors, birth month flowers, the hues that make them happy—and the cake becomes a portrait instead of just dessert. For a Taurus, I chose soft purples and pinks with sage green leaves because they evoke the earthy stability Taurus people carry, and the gold accents caught light exactly like the gift of time and attention should.
- Piping bags fill easier when you fold the top down like a cuff before adding frosting, keeping your hands cleaner and the process less chaotic.
- Keep a small offset spatula nearby for smoothing mistakes and erasing wobbly lines before the frosting sets.
- Practice your piping on a sheet of parchment paper first if you're nervous, then transfer the flowers to the cake once you feel ready.
 Pin It
 This cake is for the moments when you want someone to feel like their achievements matter enough to spend your afternoon learning how to pipe flowers. Serve it with sparkling wine, or with a floral tea that echoes the buttercream, and let the taste surprise people who weren't expecting a homemade cake to be this good.
Recipe FAQs
- → What makes the buttercream floral designs vibrant?
Gel food colorings in shades of green, pink, purple, and yellow are used to tint the buttercream, bringing the floral designs to life with rich, vivid hues.
- → Can the cake be prepared in advance?
Yes, it is recommended to chill the cake after the crumb coat and final decoration steps to let the flavors meld and decorations set firmly before serving.
- → How do you achieve the layered texture?
The batter is carefully portioned into three pans and baked evenly, then each cooled layer is spread with buttercream before stacking to create a soft, moist texture.
- → Are there suggestions for flavor enhancements?
Adding 1 teaspoon of almond extract to the batter adds a subtle nutty depth, complementing the vanilla base.
- → What tools are needed for decorating the floral patterns?
Piping bags fitted with petal, leaf, and round tips help craft the detailed floral motifs that decorate the buttercream surface.