 Pin It
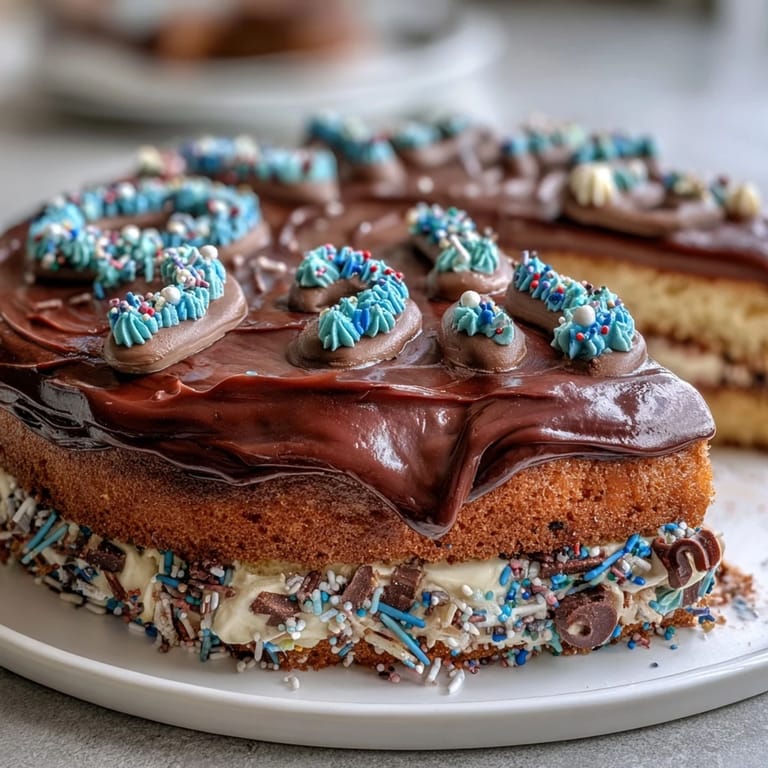
 There's something magical about baking a cake for someone's big milestone—I learned this when my neighbor asked me to make something special for her daughter's graduation party, and I chose to go simple with a classic vanilla sheet cake. She wanted it understated enough to feed a crowd but special enough to feel celebratory, and that's exactly what this cake delivers. The beauty isn't in complexity; it's in how the buttery crumb stays moist for days and the buttercream takes color like a dream, turning into whatever shade of school pride you need. I remember piping those numbers on top, my hand steadier than usual because I could picture the graduate's face when she saw it.
I'll never forget the moment when the cake came out of the oven and filled the kitchen with that warm vanilla sweetness—my teenage son wandered in asking what the occasion was, and when I told him it was for a graduation, he got this thoughtful look like he was already imagining his own future milestones. That's when I realized this cake does something beyond tasting good; it marks time in people's lives.
Ingredients
- All-purpose flour (2 ½ cups): The foundation of a tender crumb—I learned to measure by spooning and leveling rather than scooping, which prevents a dense cake.
- Baking powder (2 ½ tsp): This is your leavening agent, so don't skip it or reduce it; it's what gives the cake that light, airy texture.
- Salt (½ tsp): A pinch enhances vanilla flavor in ways people never expect, making the cake taste more like itself.
- Unsalted butter (1 cup for cake): Softened butter creams properly with sugar to incorporate air, which is the secret to that fluffy crumb.
- Granulated sugar (1 ¾ cups): This sweetens the cake while also helping the butter trap air during creaming—the longer you beat them together, the lighter your cake becomes.
- Large eggs (4, room temperature): Cold eggs won't incorporate properly, so I pull mine out about an hour before baking.
- Vanilla extract (1 tbsp): Don't cheap out here; real vanilla makes a noticeable difference in taste.
- Whole milk (1 cup, room temperature): This keeps the batter smooth and the final cake tender, and room temperature milk mixes evenly without shocking the batter.
- Unsalted butter for frosting (1 cup): Creamy frosting starts with softened butter beaten until pale and almost fluffy on its own.
- Powdered sugar (4 cups, sifted): Sifting removes lumps so your frosting stays silky; I learned this the hard way with grainy batches.
- Whole milk for frosting (¼ cup): This loosens the frosting to the right consistency for spreading and piping.
- Vanilla extract for frosting (2 tsp): A touch more vanilla in the frosting deepens the flavor profile.
- Salt (pinch): A whisper of salt in frosting balances sweetness and makes it taste more sophisticated.
- Food coloring (for personalization): Gel colors give vibrant shades without thinning the frosting like liquid colors do.
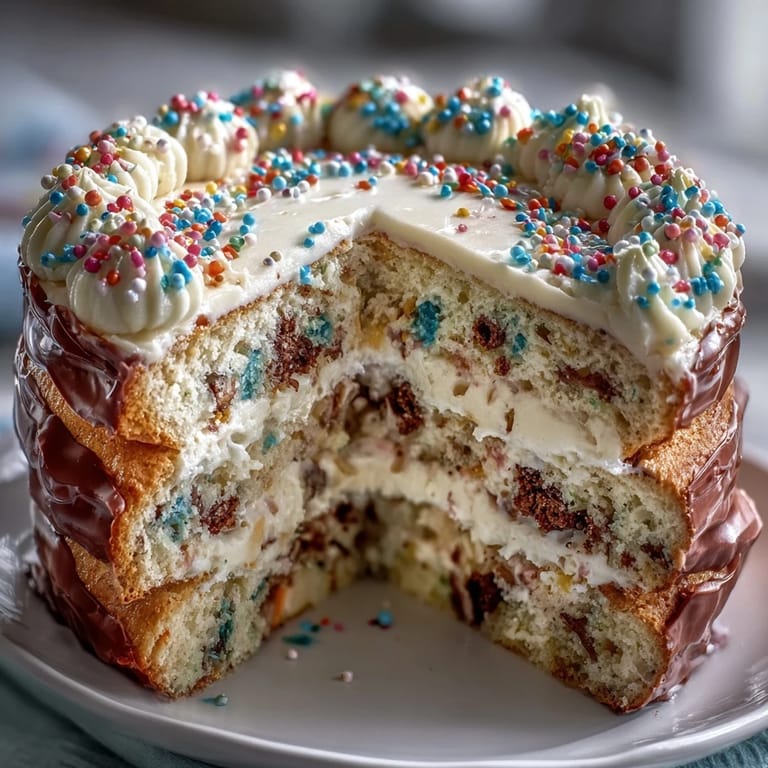
- Sprinkles and edible decorations: Optional but they add that festive finishing touch that makes graduates smile.
Tired of Takeout? 🥡
Get 10 meals you can make faster than delivery arrives. Seriously.
One email. No spam. Unsubscribe anytime.
Instructions
- Prep your pan and preheat:
- Get your oven to 350°F and grease that 9x13-inch pan thoroughly before lining it with parchment paper—the combination prevents sticking and makes removing the cooled cake effortless. I tap the parchment into the corners so it stays put while you pour in batter.
- Mix the dry ingredients:
- Whisk together flour, baking powder, and salt in a medium bowl, breaking up any lumps in the baking powder you might spot. This pre-mixing ensures the leavening distributes evenly throughout the cake.
- Cream butter and sugar:
- Beat softened butter and sugar together in your large bowl for about 3 minutes until the mixture looks pale, fluffy, and almost mousse-like. This step incorporates air that will keep your cake tender, so don't rush it.
- Add eggs one by one:
- Add each egg individually, beating well after each addition so the mixture stays emulsified and smooth—this prevents a grainy texture in the final cake. Once all eggs are in, mix in that vanilla extract until it disappears into the batter.
- Alternate flour and milk:
- Start with some flour mixture, then milk, alternating three times and ending with flour—this prevents overmixing, which would develop gluten and make the cake tough. Stir just until combined; some streaks of flour are fine.
- Bake until golden:
- Pour the batter into your prepared pan, smooth the top gently, and bake for 30 to 35 minutes until a toothpick inserted in the center comes out clean or with just a few crumbs. The top will be light golden and spring back when you touch it gently.
- Cool completely:
- Let the cake cool in the pan on a wire rack; once completely cool, you can frost it without the frosting melting. I sometimes pop mine in the fridge for thirty minutes before frosting if my kitchen is warm.
- Make the frosting:
- Beat softened butter until creamy and pale, then gradually add sifted powdered sugar, milk, vanilla, and salt, beating for 3 to 5 minutes until fluffy and light. This frosting is forgiving—if it gets too thick, add a splash more milk; if too thin, add more powdered sugar.
- Spread and decorate:
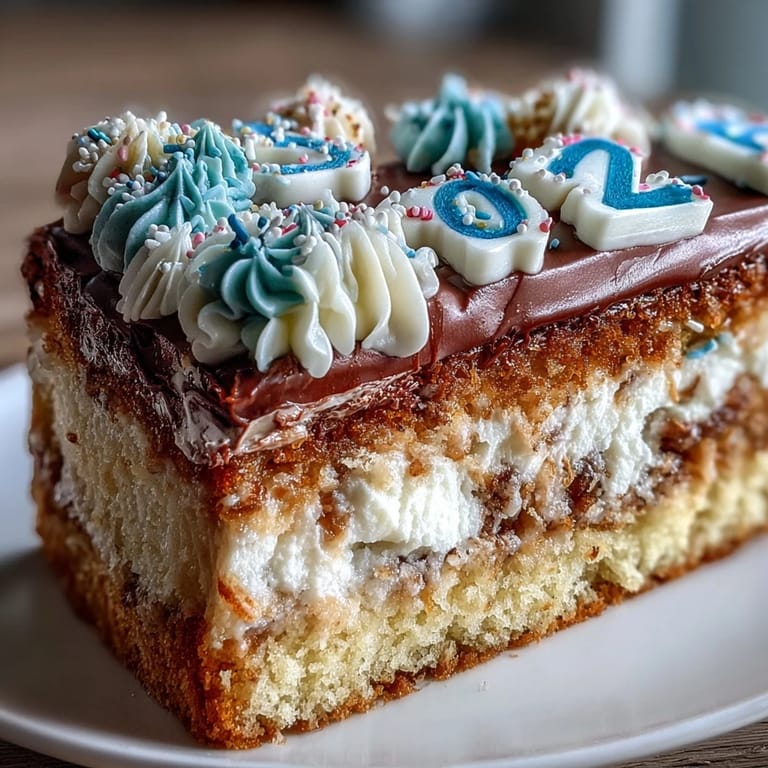
- Apply an even layer of buttercream over the cooled cake using an offset spatula or the back of a spoon, then divide colored frosting into piping bags. Pipe Class of 2026 with a small round tip, add sprinkles if you like, and step back to admire your work.
 Pin It
 What struck me most was watching my neighbor's face light up when she saw the cake displayed at the party—not because it looked fancy, but because it represented someone taking time to make something delicious for a moment that mattered. That's the real magic of this cake.
The Simplicity of Sheet Cakes
Sheet cakes have taught me that you don't need a three-tiered tower to celebrate something important; sometimes a straightforward, generous cake on one pan does more for a room full of people than any elaborate dessert ever could. They feed crowds without fuss, they store beautifully, and they photograph just as well when someone wants to capture the moment. I've learned to appreciate their honest, unpretentious charm.
Personalizing with Color and Flavor
The beauty of this recipe is how adaptable it becomes once you understand the basics—I've made it in school colors, in pastels for spring celebrations, and even in deep jewel tones for evening events. A friend suggested adding almond extract, and now I do that half the time because it whispers in the background without announcing itself. You can swap vanilla for almond, add lemon zest, or even a hint of citrus if you want to play, knowing the core recipe will still deliver.
Keeping It Fresh and Storing Properly
Once frosted and decorated, this cake actually improves slightly over a day as the crumb absorbs moisture from the frosting and becomes even more tender—I've learned to make sheet cakes the day before events whenever possible. It stays soft and fresh at room temperature for two days, or you can refrigerate it for up to five days, making it perfect for busy event schedules.
- Cover the cake loosely with plastic wrap or foil to prevent it from drying out, but don't seal it so tightly that condensation makes the frosting weep.
- If you're making it ahead, frost it only a few hours before serving so the frosting stays fresh and holds its color.
- Pull the cake from the fridge about thirty minutes before serving so it reaches room temperature and the vanilla flavor blooms fully.
 Pin It
 Every time I make this cake, I'm reminded that the best celebrations don't require complexity—they require presence, a good recipe, and a willingness to show up for someone's milestone. This cake does exactly that.
Recipe FAQs
- → How do I ensure the cake stays moist?
Use room temperature butter and eggs, and avoid overmixing the batter to maintain a tender, moist crumb.
- → Can I customize the buttercream colors?
Yes, adding food coloring allows for school colors or themes to personalize the frosting and piping.
- → What pan size is recommended for baking?
A 9x13-inch sheet pan ensures even baking and the ideal thickness for this cake.
- → How long should the cake cool before frosting?
Allow the cake to cool completely on a wire rack to prevent the buttercream from melting upon spreading.
- → Are there alternatives to dairy milk in this cake?
Non-dairy milk substitutes can be used to accommodate dietary restrictions without impacting texture significantly.
- → What is the purpose of piping 'Class of 2026' on the cake?
Piping the class year adds a personalized, celebratory touch ideal for graduation festivities.