 Pin It
 There's something about the moment a perfectly baked cheesecake emerges from the oven that makes you believe you've accomplished something real. I didn't grow up making these, but one winter evening, a friend casually mentioned she'd never had a homemade version, only the dense grocery store kind. That simple comment stuck with me, and I found myself standing in my kitchen on a Saturday, determined to prove that cheesecake could be creamy, authentic, and worth the wait. The first time I got it right, I understood why people talk about it the way they do.
I remember bringing a slice to work and watching my coworker's face light up like I'd given her something precious. She asked how long I'd been baking professionally, and when I told her it was my second attempt, she didn't believe me. That's the thing about cheesecake done right—people assume it's harder than it is, which makes the whole experience feel a bit like magic.
Ingredients
- Graham cracker crumbs: Use fresh ones if you can, or crush them yourself—the texture matters more than you'd think, and homemade always tastes better than pre-packaged.
- Unsalted butter: This is your binder and flavor base, so don't skip it or cut back; the proportions are what make the crust hold together perfectly.
- Full-fat cream cheese: Room temperature is non-negotiable here; cold cream cheese will cause lumps that no amount of mixing will fix, and lumpy cheesecake is a disappointment worth avoiding.
- Sour cream: This is your secret weapon for achieving that signature tang and silky texture that people can't quite identify.
- Eggs: Add them one at a time and resist the urge to overmix; you're building a structure, not making a smoothie.
- Cornstarch: This tiny addition prevents cracks by absorbing moisture, and it's worth the extra ingredient in your lineup.
- Vanilla and lemon juice: These brighten the filling and prevent it from tasting flat or one-dimensional, even though you might not notice them separately.
Tired of Takeout? 🥡
Get 10 meals you can make faster than delivery arrives. Seriously.
One email. No spam. Unsubscribe anytime.
Instructions
- Prepare your pan:
- Line your springform pan with parchment paper on the bottom—this prevents the crust from sticking and makes unmolding later so much easier. Grease the sides generously so the cheesecake slides out cleanly.
- Build the crust:
- Mix your graham crumbs, melted butter, sugar, and salt until it feels like wet sand between your fingers. Press it firmly into the pan and bake for 10 minutes; this pre-bake keeps it from turning soggy when the filling goes on top.
- Soften the cream cheese:
- Beat it for about 2 minutes until it's smooth and creamy with no visible lumps. This step takes patience, but lumps in your filling are lumps in your final dessert.
- Combine wet ingredients:
- Add your sugar next, beating until everything looks pale and fluffy. Then fold in the sour cream, vanilla, lemon juice, cornstarch, and salt, mixing until just combined—you're not aiming for air here, just even distribution.
- Add eggs carefully:
- Add each egg one at a time, scraping down the bowl after each addition and mixing on low speed. This prevents overdeveloping gluten in the filling and keeps the texture tender rather than rubbery.
- Create the water bath:
- Pour the filling into your cooled crust, smooth the top with a spatula, then place the springform pan inside a larger roasting pan. Pour hot water into the outer pan until it reaches halfway up the sides of the springform; this gentle, humid heat bakes the cheesecake evenly from all sides.
- Bake and cool slowly:
- Bake for 55–65 minutes until the edges are set but the center still jiggles slightly when you give the pan a gentle shake. Turn off the oven, crack the door open, and let it cool inside for a full hour; this gradual temperature change prevents the dramatic cracking that happens when cheesecake cools too quickly.
- Finish and chill:
- Remove from the oven, run a thin knife around the edges to help it release, and let it reach room temperature before refrigerating for at least 6 hours or overnight. This resting time is essential—cheesecake actually continues to set in the refrigerator and tastes better the next day.
 Pin It
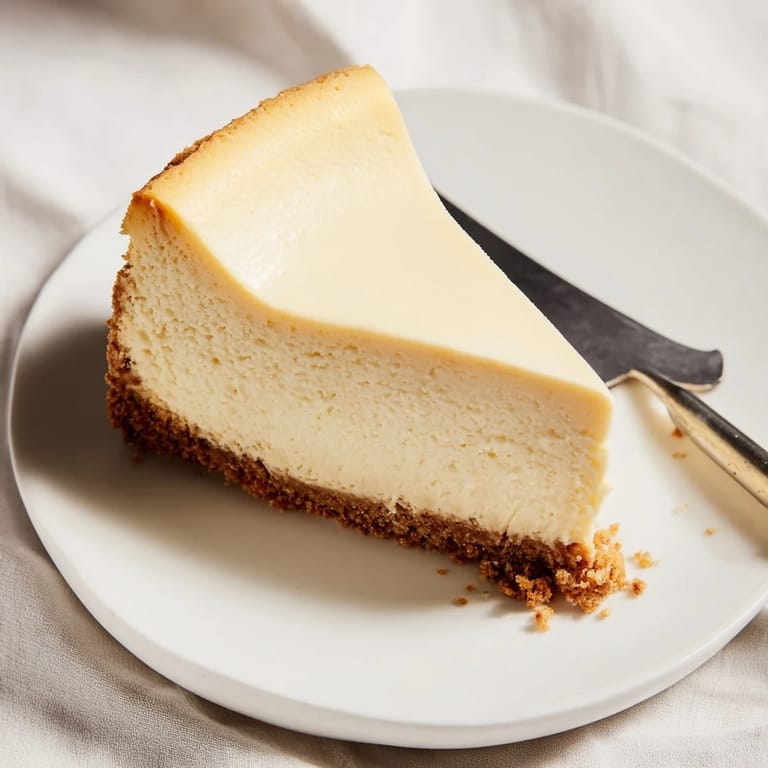
 There's a specific moment when you run that hot knife around the warm cheesecake and feel it release from the sides that makes all the waiting worthwhile. It's the moment you know it worked, and the best part is sharing it with someone who's never had homemade cheesecake before.
The Science Behind the Crust
The crust is more than just a base—it's insurance against a soggy bottom and a textural contrast that matters. When you toast the graham cracker mixture before adding the filling, the butter begins to bind the crumbs into a structure that can support the weight of the custard above without absorbing its moisture. This pre-bake step is what separates a crispy, holdable crust from one that crumbles or turns pasty as you eat.
Why the Water Bath Changes Everything
A water bath does two crucial things: it distributes heat evenly so the edges don't cook faster than the center, and it creates a humid environment that prevents the surface from drying out and cracking. Without it, your filling might bake too quickly on the outside, leaving the inside raw or creating that telltale craggy top that signals something went wrong. The water bath is gentle, forgiving, and worth every bit of effort.
Variations and Personal Touches
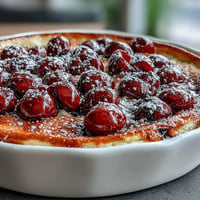
Once you master the classic version, the possibilities open up. Some nights I swirl melted chocolate into the filling just before baking, and other times I top it with fresh berries or a quick fruit compote. The recipe is forgiving enough to experiment with once you understand the fundamentals, and that's when cooking stops feeling like following instructions and starts feeling like play.
- For a chocolate twist, swirl melted dark chocolate into the filling before baking for marbling without overmixing.
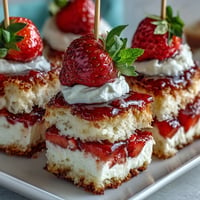
- Top with fresh berries, lemon curd, or fruit compote instead of the sour cream topping if you want something brighter.
- Serve with strong coffee or a late harvest Riesling if you want to feel fancy, but honestly, cheesecake stands on its own.
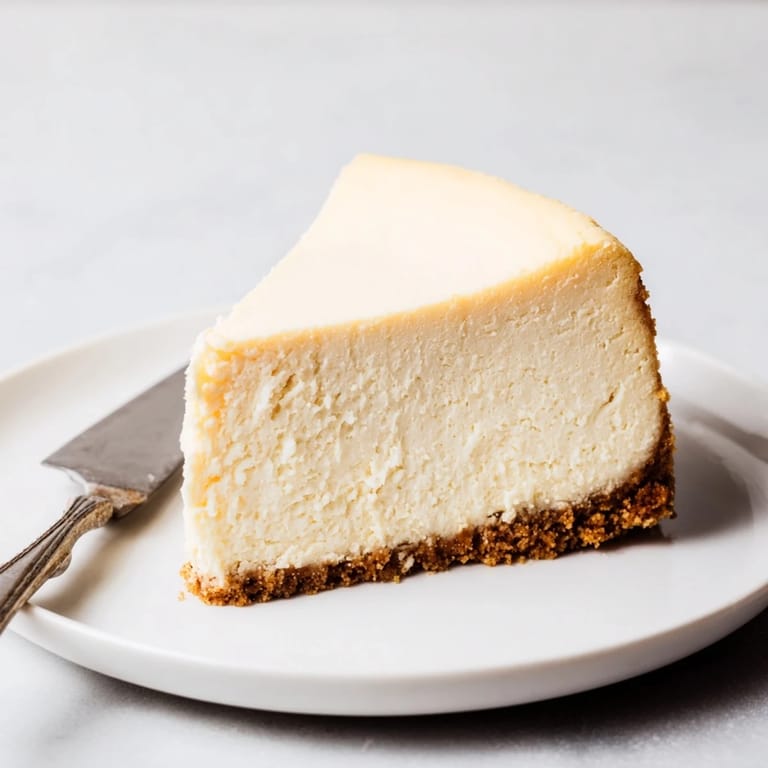
 Pin It
 There's something deeply satisfying about making cheesecake from scratch, knowing you've created something that tastes better than anything you could buy. Every time someone asks for the recipe, you get to share not just instructions, but a small piece of your kitchen success.
Recipe FAQs
- → What is the purpose of baking the cheesecake in a water bath?
The water bath helps ensure gentle, even heat distribution, preventing cracks and keeping the filling smooth and creamy.
- → Why should the cream cheese and eggs be at room temperature?
Room temperature ingredients blend more smoothly, resulting in a creamier, lump-free filling.
- → Can I use a different crust besides graham cracker?
Yes, crushed digestive biscuits or cookies can be used as alternatives for the crust.
- → How long should the cheesecake be chilled before serving?
It’s best to chill the cheesecake for at least 6 hours or overnight to fully set the texture.
- → What are some common topping options for this cheesecake?
Popular toppings include sour cream with powdered sugar, fresh berries, fruit compote, or a chocolate swirl.
- → How can I avoid cracks on the cheesecake surface?
Use a water bath during baking, avoid overmixing, and allow it to cool gradually in the oven before refrigerating.