 Pin It
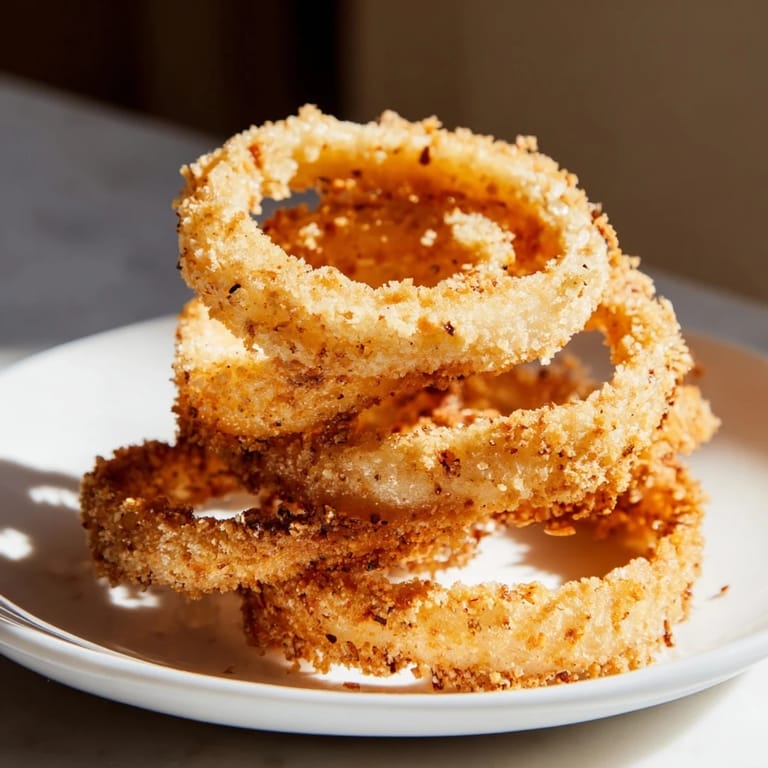
 There's something about the smell of onions hitting hot oil that just stops me mid-conversation. My uncle used to make onion rings every Fourth of July, and I'd hover near the kitchen like a curious cat, watching the golden transformation happen in seconds. The first time I tried making them myself, I used warm water instead of cold and ended up with a greasy mess—but that failure taught me everything. Now these rings are my go-to when I want something crispy and comforting that actually works.
I made these for a potluck last summer where everyone brought the same sad potato salad, and somehow my onion rings became the thing people actually talked about the next day. A friend asked for the recipe, made them that weekend, and texted me a photo of her kids' faces covered in batter—that's when I knew I'd passed along something real.
Ingredients
- Large yellow onions: Slice them into thick, sturdy rings that hold their shape and won't collapse when you fry them—thin rings fall apart, so don't skimp on size.
- All-purpose flour and cornstarch: This combination creates lift and structure; the cornstarch is the secret to that delicate crispness.
- Baking powder: A small amount adds air pockets that make the batter fluffy instead of dense.
- Cold sparkling water: This is non-negotiable—carbonation creates a light, crispy coating that regular water simply cannot achieve.
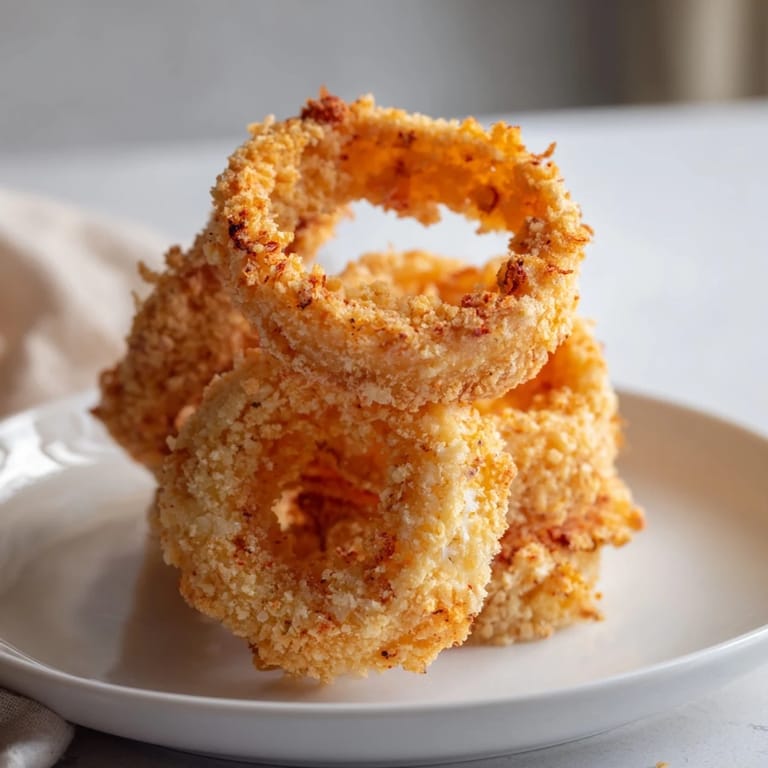
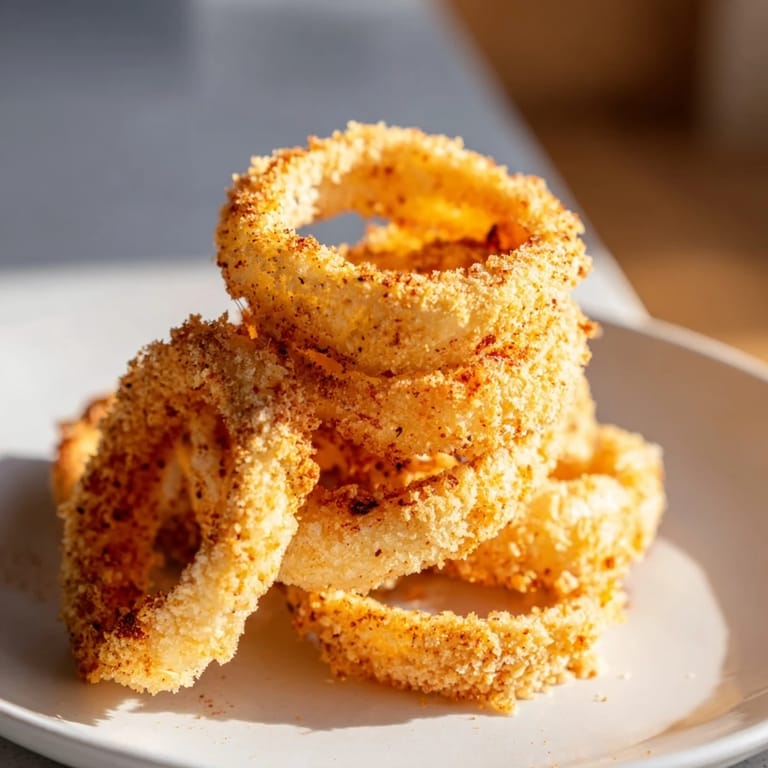
- Panko breadcrumbs: Optional but worth it if you want extra texture and a golden crust that stays crispy longer.
- Vegetable oil: Use neutral oil with a high smoke point; I stick with canola or vegetable oil for reliability.
Tired of Takeout? 🥡
Get 10 meals you can make faster than delivery arrives. Seriously.
One email. No spam. Unsubscribe anytime.
Instructions
- Slice and separate:
- Peel your onions and cut them into half-inch rings, then gently pull them apart into individual rings. Thicker rings hold together beautifully and give you better bites.
- Build your batter:
- Whisk flour, cornstarch, baking powder, salt, paprika, and garlic powder together, then slowly pour in the cold sparkling water while stirring. You want a thick batter that clings to the onions but still drips a little—too thin and it won't coat, too thick and it becomes heavy.
- Heat your oil:
- Bring your oil to exactly 350°F; use a thermometer if you have one, because guessing is how you end up with either raw-center or burnt rings. Let it come to temperature slowly so it stays there.
- Dip and coat:
- Hold each ring with a fork, dip it completely into the batter, let excess drip off for a second, then drop it carefully into the hot oil. If you're using panko, dredge the battered ring in breadcrumbs before frying for extra crunch.
- Fry until golden:
- Listen for the sizzle to settle down a bit, then fry for about two to three minutes, turning the rings once. They should be golden brown all over, not dark brown or still pale.
- Drain and rest:
- Lift them out with a slotted spoon and place them on paper towels to drain while they're still hot—this keeps them crispy instead of steamed.
 Pin It
 I remember my mom tasting these for the first time and actually closing her eyes, saying they reminded her of a state fair from decades ago. Food has this strange power to unlock memories that don't even belong to you.
The Sparkling Water Secret
The carbonation in sparkling water reacts with the batter during frying, creating tiny bubbles that turn into crispy pockets throughout the coating. It's the difference between a ring that's merely fried and one that's genuinely crunchy, and honestly, it's worth keeping cold sparkling water on hand just for this reason.
Temperature Control Matters
Oil that's too cool produces greasy rings; oil that's too hot burns the outside before the inside is done. I've learned this the hard way, and now I always check the temperature before I start. If you don't have a thermometer, break off a tiny piece of batter and drop it in—if it sizzles immediately and floats to the surface within a few seconds, you're ready to go.
Serving and Variations
Serve these while they're still warm and crispy, ideally within minutes of finishing the last batch. They're perfect with classic ranch, ketchup, or a spicy mayo if you want to get fancy. I also love adding a pinch of cayenne pepper to the batter when I'm in a bold mood, and my gluten-free friends have had excellent results swapping the flour and panko for their preferred alternatives.
- Keep a batch warm in a low oven while you finish frying so everyone eats at the same time.
- For extra spice, mix a little hot sauce into sour cream for a dipping sauce that actually transforms them.
- If you're cooking for more than four people, double the batter but fry in smaller batches—quality over speed.
 Pin It
 These onion rings are one of those recipes that feels fancy but actually just requires paying attention to a few simple things. Once you nail it, you'll find yourself making them constantly.
Recipe FAQs
- → What type of onions work best for these rings?
Large yellow onions are ideal as they provide a firm texture and balanced sweetness, holding well during frying.
- → How do I achieve extra crispy onion rings?
Incorporate panko breadcrumbs as a coating layer after dipping in batter, and use cold sparkling water or beer in the batter to enhance crispiness.
- → What oil temperature is best for frying onion rings?
Maintain oil temperature around 350°F (175°C) to ensure even cooking and prevent greasy results.
- → Can I make the batter gluten-free?
Yes, substitute all-purpose flour and breadcrumbs with gluten-free alternatives for a suitable variation.
- → What spices complement the batter flavor?
Paprika, garlic powder, and a pinch of salt bring out a balanced and flavorful batter; cayenne pepper can add a spicy kick.