 Pin It
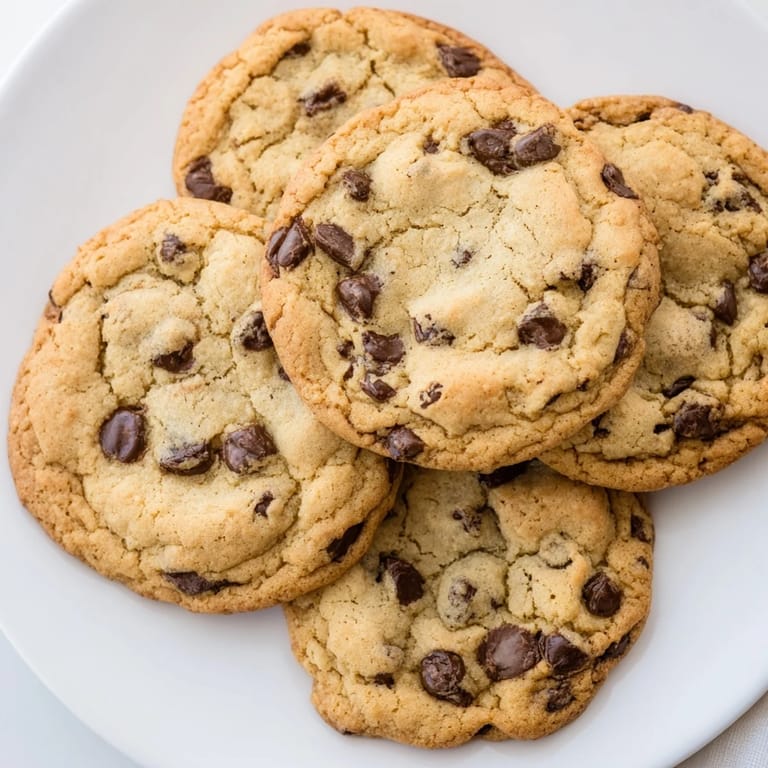
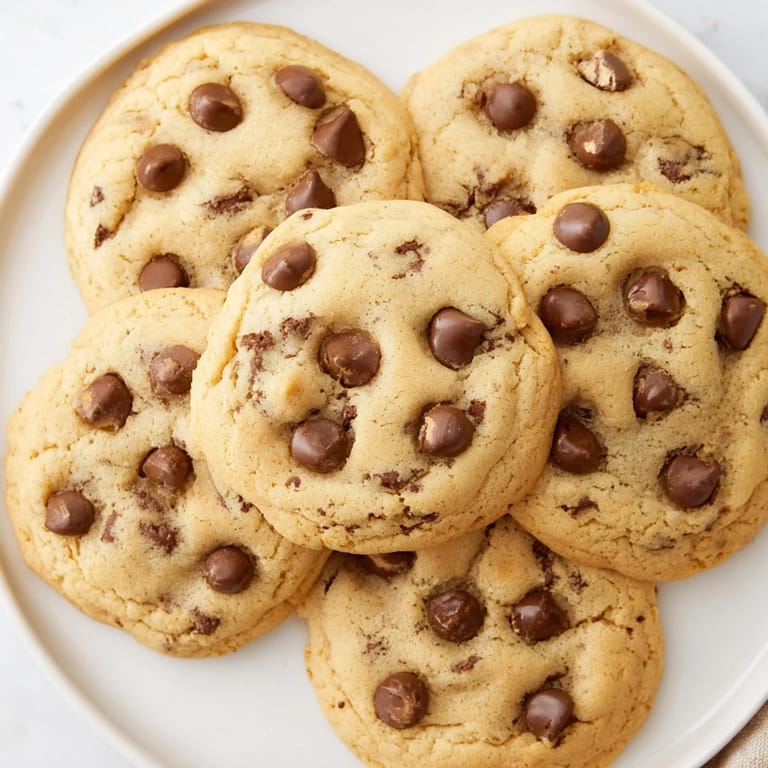
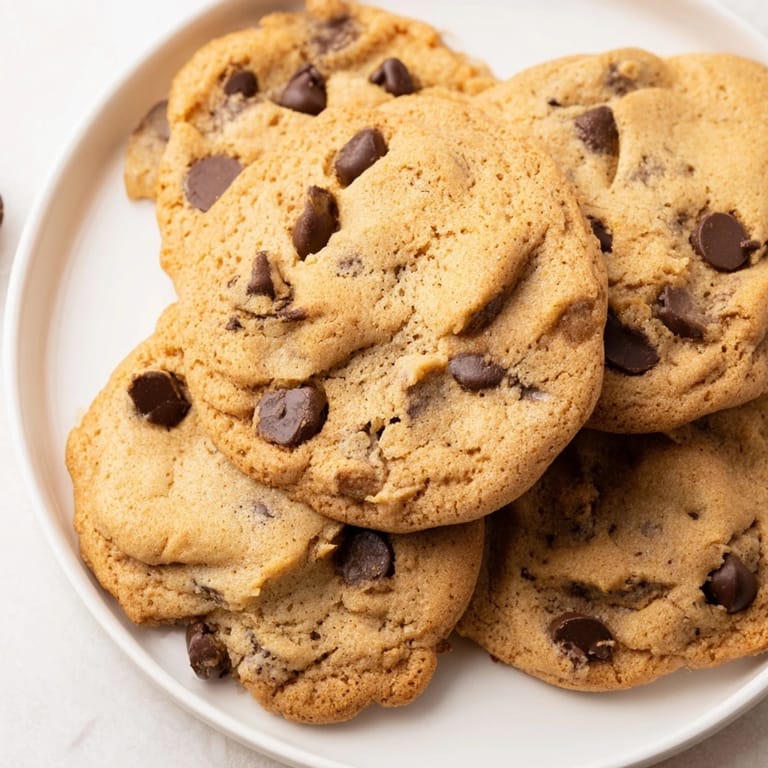
 My roommate's kitchen smelled like burnt sugar the first time she tried baking these, and I couldn't resist offering to show her how I'd learned to make them. There's something about the way butter and brown sugar cream together that signals you're about to make something people actually want to eat. These cookies became our thing—the recipe we'd make when someone needed cheering up or when we just wanted an excuse to lick the bowl. That soft, chewy center with melted chocolate is what keeps people coming back, and honestly, it's not hard to understand why.
I made these for a potluck once where everyone brought something fancy—salads with microgreens, artisanal bread, fancy dips. Then I walked in with a container of these humble chocolate chip cookies, and by the end of the night, my plate was completely empty while half the other dishes were still sitting there untouched. That's when I realized there's real power in simplicity and doing one thing really, really well.
Ingredients
- All-purpose flour (2 1/4 cups): This is your structure—make sure it's not packed down when you measure, or your cookies will be dense and tough instead of tender.
- Baking soda (1/2 teaspoon): This tiny amount is what gives you that spread and lift, creating those crispy edges while keeping the center soft.
- Salt (1/2 teaspoon): Never skip this; it amplifies the chocolate flavor and balances the sweetness in ways you won't consciously notice but will definitely taste.
- Unsalted butter (1 cup), softened: Room temperature butter is non-negotiable—it creams properly and traps air, which gives you that tender crumb.
- Granulated sugar (3/4 cup): This contributes structure and helps the cookies spread slightly.
- Packed light brown sugar (3/4 cup): This is your secret weapon for chewiness; the molasses adds moisture and depth that granulated sugar alone can't deliver.
- Large eggs (2): They bind everything together and add moisture—room temperature eggs incorporate more smoothly into the dough.
- Pure vanilla extract (2 teaspoons): Real vanilla makes a noticeable difference in flavor; the imitation stuff never quite hits the same.
- Semi-sweet chocolate chips (2 cups): These are the whole point, so don't cheap out—good chocolate chips with real cocoa butter will melt better and taste richer.
Tired of Takeout? 🥡
Get 10 meals you can make faster than delivery arrives. Seriously.
One email. No spam. Unsubscribe anytime.
Instructions
- Get your oven ready:
- Preheat to 350°F and line your baking sheets with parchment paper—this prevents sticking and lets you slide the cookies off easily once they've cooled slightly.
- Combine your dry ingredients:
- Whisk the flour, baking soda, and salt together in a medium bowl so they're evenly distributed; this prevents pockets of baking soda that would taste metallic.
- Cream the butter and sugars:
- Beat them together for about 2 minutes until the mixture looks pale and fluffy—this is where you're incorporating air that makes cookies tender. You should see a noticeable change in texture and color.
- Add the eggs and vanilla:
- Drop in one egg at a time, beating well after each one so it's fully incorporated before the next one goes in. This creates a smooth, emulsified base that holds everything together.
- Bring it together gently:
- Stir the dry mixture into the wet mixture just until combined—overmixing develops gluten and makes your cookies tough instead of tender. Stop as soon as you don't see dry flour streaks.
- Fold in the chocolate:
- Distribute the chips evenly throughout the dough so every cookie gets plenty of melted chocolate.
- Scoop and space:
- Drop rounded tablespoons of dough onto your sheets about 2 inches apart—they'll spread as they bake, and you don't want them running into each other. A cookie scoop makes this faster and more uniform.
- Bake until they're just barely done:
- Watch for golden edges with centers that still look slightly underdone (about 10–12 minutes)—they'll continue cooking as they cool and end up chewy instead of hard and brittle.
- Cool with patience:
- Leave them on the baking sheet for 5 minutes so they firm up enough to move, then transfer to a wire rack. They'll finish setting as they cool completely.
 Pin It
 There was a moment when my nephew, who's a picky eater about basically everything, took a bite of one of these cookies and his whole face changed. He stopped mid-chew and asked for another one, then another, and suddenly I went from "the aunt who makes weird food" to "the aunt who makes the good cookies." Food can do that sometimes—break through walls you didn't even know were there.
Variations That Actually Work
The beauty of this recipe is that it accepts swaps without falling apart. Dark chocolate chips bring a more sophisticated bite, milk chocolate feels almost nostalgic, and white chocolate turns these into something different but equally craveable. I've added chopped walnuts and pecans, sprinkled fleur de sel on top before baking, and even swapped in half whole wheat flour for a slightly nuttier flavor. Each change teaches you something about how cookies actually work.
Storage and Make-Ahead Strategy
These cookies live well in an airtight container for up to 5 days, though I've never had them last that long. The dough actually freezes beautifully—scoop it onto a tray, freeze solid, then pop the frozen scoops into a bag and bake straight from the freezer, adding just a minute or two to the baking time. Having emergency cookies in the freezer is a form of self-care I wish I'd discovered earlier.
The Science of Chewy vs. Crispy
The ratio of brown sugar to granulated sugar is what tips the scales toward chewiness—the brown sugar holds moisture thanks to its molasses content, and underbaking lets that moisture stay trapped in the cookie instead of evaporating into the oven air. If you like your cookies crispier, bake them an extra 2–3 minutes and use slightly more granulated sugar next time. The beauty is that once you understand what's happening, you can adjust based on your actual preferences instead of just following a recipe blindly.
- Room temperature ingredients mix more smoothly and create a better texture than cold ingredients straight from the fridge.
- Don't skip the parchment paper—it's the difference between cookies that slide off the sheet and cookies you have to scrape off.
- These freeze great as baked cookies too, so you can make a double batch when you're feeling it and have cookies on hand for when you're not.
 Pin It
 Baking these cookies is less about following rules and more about understanding what you want them to become. Once you've made them once, you own them.
Recipe FAQs
- → How can I ensure soft and chewy cookies?
Use a combination of granulated and brown sugar, and avoid overmixing the dough. Baking just until edges are golden also helps maintain softness inside.
- → Can I substitute different types of chocolate chips?
Yes, semi-sweet chips can be swapped for milk, dark, or white chocolate to vary the flavor profile.
- → Is chilling the dough necessary?
Chilling the dough for 30 minutes enhances the flavor and improves texture but is optional if short on time.
- → What tools do I need for baking these cookies?
Basic tools include mixing bowls, an electric mixer or whisk, measuring spoons and cups, baking sheets lined with parchment paper, and a wire rack for cooling.
- → How should I store the baked cookies?
Store cooled cookies in an airtight container to keep them fresh for up to five days.