 Pin It
 The first time I attempted a Rosé Velvet Cake, my kitchen smelled faintly of berries and excitement—an aroma that always seems to trail pink-hued bakes. I wasn't planning anything elaborate, but a last-minute invite to a friend’s bridal shower motivated me to experiment with edible gold and a splash of wine. Hearing everyone laugh from the other room as I nervously mixed the batter, I remember hoping the end result would be just as joyful. Somehow, the sight of the finished cake shimmering on the counter felt like a private victory. The process left fingerprints of pink across my apron and a newfound love for decorating cakes that look as festive as they taste.
There was this moment, muffled by jazz from the radio and the whirr of the mixer, when my neighbor poked her head in just to ask, “What smells so fancy?” She taste-tested stray spoonfuls while I wrestled with getting the perfect shade of pink. Her approval didn’t just calm my nerves—it made the late-night bake feel communal. Cakes like this seem to attract helpers, onlookers, and anyone curious about golden shimmer. By the time it graced the table, we were giggling over frosting smudges and planning the next reason to celebrate.
Ingredients
- All-purpose flour: Sifting is a must to keep the crumb tender and light—skip it and your cake will feel dense.
- Granulated sugar: Cream the sugar thoroughly for an even, delicate sweetness in every slice.
- Baking soda: My secret to avoiding sunken cakes: double-check its freshness before mixing.
- Fine salt: A pinch will balance the cake's sweet and floral notes.
- Cocoa powder (unsweetened): Gives depth to the color and just enough earthy flavor to play up the rosé.
- Vegetable oil: I learned early on that oil makes velvet cakes moist for days—don’t substitute with butter.
- Large eggs: Room temperature eggs help everything blend velvety smooth without pesky lumps.
- Buttermilk: It adds signature tang and makes the crumb impossibly airy if not rushed.
- Rosé wine: Use a dry or sparkling type for a floral lift—add it slowly to enjoy its perfume as you stir.
- Vanilla extract: Enhances the wine and cocoa notes, making the final flavor more sophisticated.
- White vinegar: Just a splash ensures the signature rise—resist skipping it.
- Pink or rose gel food coloring: Blend gently for an even, photo-worthy rosy hue.
- Unsalted butter: The butter must be soft for creamy, cloudlike buttercream that spreads easily.
- Powdered sugar: Sifting first prevents a grainy finish in your icing.
- Edible gold luster dust: It’s worth investing in the real edible kind for a safe, show-stopping finish.
- White chocolate chips: Melt them gently—the key to a glossy, smooth drip without seizing.
- Heavy cream: Adds richness and shine to the gold drip—don’t overheat it.
- Vodka or clear lemon extract: Allows you to paint the gold and watch it gleam as it dries.
Tired of Takeout? 🥡
Get 10 meals you can make faster than delivery arrives. Seriously.
One email. No spam. Unsubscribe anytime.
Instructions
- Prep the Pans:
- Grease and line three 8-inch cake pans with parchment paper, making sure the corners hug the sides—this saves you from stubbornly stuck cakes later.
- Mix Dry Ingredients:
- Sift flour, sugar, baking soda, salt, and cocoa powder in a large bowl, watching small flour clouds drift—it's oddly calming.
- Join the Wet Ingredients:
- In another bowl, whisk together oil, eggs, buttermilk, rosé, vanilla, and vinegar until everything looks creamy and blush-toned.
- Combine and Color:
- Pour the wet mixture into the dry ingredients and stir until just combined, then swirl in pink gel coloring until the shade sings 'celebration.'
- Bake the Cakes:
- Distribute the batter into pans, smoothing the tops; bake at 350°F for 30-35 minutes until a toothpick comes out mostly clean with a few crumbs.
- Cool Completely:
- Let the cakes cool in their pans for 10 minutes before confidently flipping them onto a wire rack to cool completely.
- Make the Rosé Buttercream:
- Beat the butter until fluffy, slowing to add sifted powdered sugar, then pour in the rosé, vanilla, and salt—sample as you go to tune the flavor.
- Assemble and Crumb Coat:
- Level the cakes if needed, stack with layers of buttercream, coat the entire cake thinly, then chill to lock everything in place.
- Final Icing:
- Sweep on the final layer of buttercream, smoothing the sides—don’t worry about tiny imperfections, they disappear under gold drip.
- Prepare White Chocolate Drip:
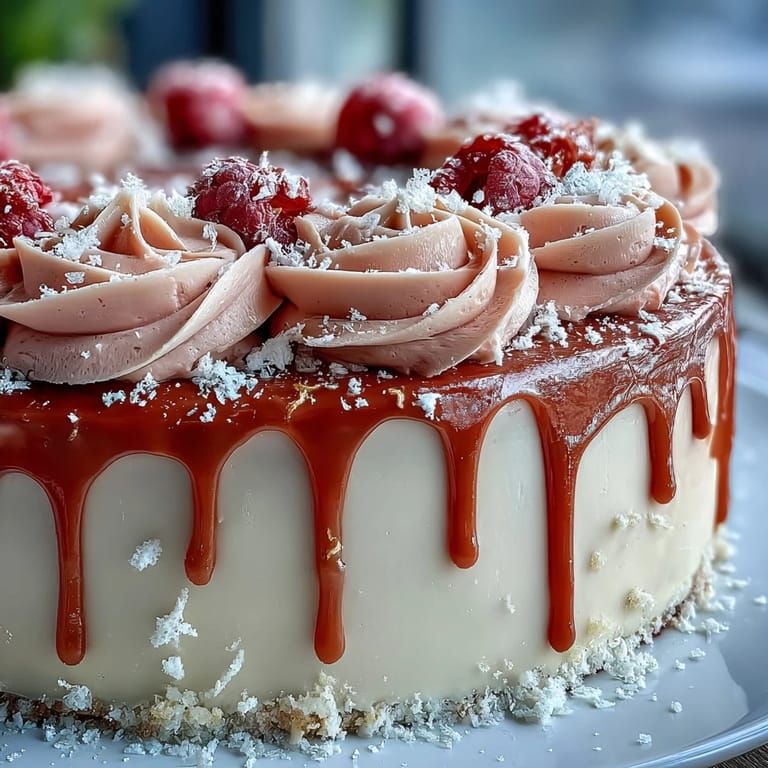
- Melt white chocolate chips with cream until smooth, let cool, then gently pour around the edge to form elegant drips down the sides.
- Paint it Gold:
- Mix luster dust with vodka or lemon extract, then paint each drip with a tiny brush, watching the color shift as it dries.
- Decorate:
- Add edible gold leaves, dried rose petals, or fresh berries to finish—pause to admire your work before anyone takes a slice.
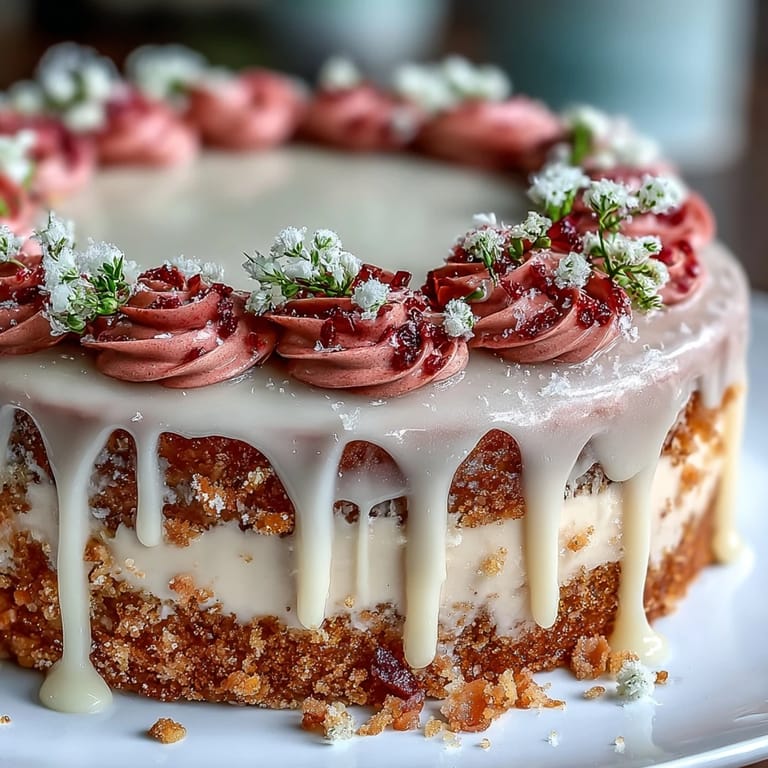 Pin It
 At the party, someone whispered, “This is almost too pretty to eat,” which always makes me smile. But by the end of the night nothing but golden crumbs and a few stray rose petals remained, and the cake had somehow nudged everyone a little closer together.
How to Nail the Gold Drip
The secret to that perfect metallic drip isn’t just the gold dust—it's making sure the melted white chocolate is barely warm and thick enough to cling elegantly. I always run a test drip on the edge of a mixing bowl before moving to the cake. When painting, use a tiny, soft paintbrush; swirling motions make the gold appear seamless and glossy, reflecting party lights with every turn. If the white chocolate runs too quickly, simply wait a couple more minutes and try again. Trust me, those extra minutes of patience are worth every admiring gasp.
Choosing the Best Rosé
After much experimentation (and a few sips for research), I’ve found that a dry or sparkling rosé is best for baking—a wine that’s too sweet can overpower the delicate cocoa. Look for something with juicy berry or floral notes, which truly blooms during baking. If you don’t want to open a pricey bottle, some grocery store options work just fine. Sometimes, I even plan the palette of the cake and the wine together, so the colors look as beautiful as the taste is fragrant. Pour the rest for a celebratory toast—it’s tradition at my house now.
Make-Ahead, Decor & Storage
An unexpected benefit of this cake: it’s just as gorgeous made ahead. Wrap cooled layers and refrigerate overnight—this actually makes the cake easier to assemble and decorate. I like to decorate just before serving, letting the gold paint dry while prepping other nibbles. If you’re worried about transporting, refrigerate until the last minute to keep everything fresh and photo-ready.
- Opt for gel food coloring for brighter pink without thinning the batter.
- Keep an offset spatula and paper towels nearby for extra tidy edges.
- Remember to use only real edible gold dust—your guests will thank you.
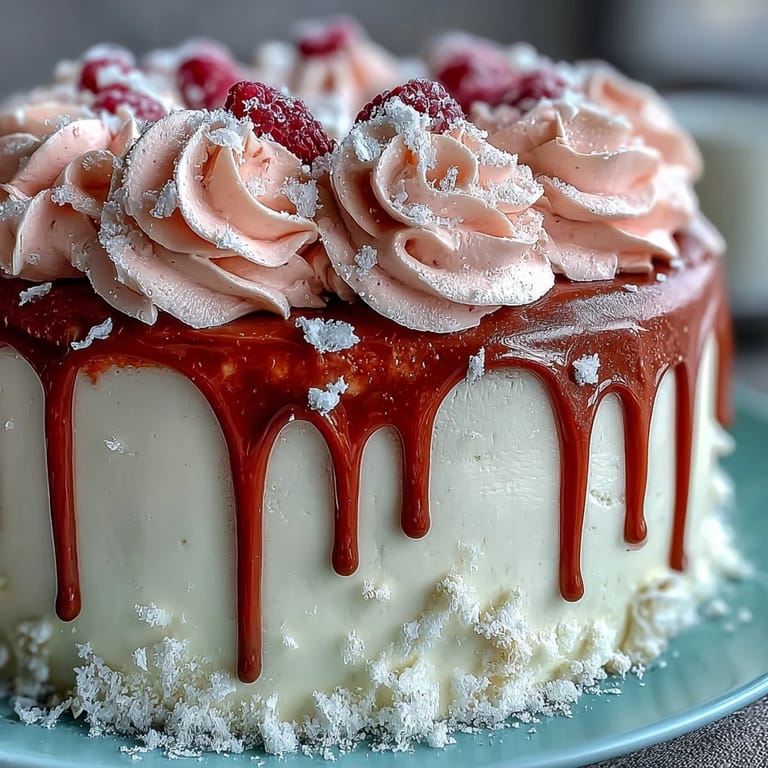 Pin It
 I hope this cake brings as much fun to your celebrations as it has to mine. Whether you’re celebrating big or just want something beautiful on an ordinary day, let the gold drip shine for you too.
Recipe FAQs
- → Can I omit the alcohol without losing flavor?
Yes. Replace rosé with equal parts nonalcoholic sparkling rosé or pink grape juice mixed with a teaspoon of lemon juice or white vinegar to mimic acidity. Adjust sweetness and liquid to maintain batter consistency.
- → How do I ensure even layers and flat tops?
Weigh batter for each pan or divide evenly, tap pans to release air, and rotate in the oven if needed. After cooling, level with a serrated knife or cake leveler for uniform stacks.
- → How can I keep the buttercream stable when filling and frosting?
Beat butter until light, add powdered sugar gradually, and chill briefly if buttercream becomes too soft. Adjust firmness with more sugar or a splash of rosé; chilling between layers firms up the filling and prevents sliding.
- → What temperature should the drip be for best results?
Cool the white chocolate drip until slightly warm and pourable—thick enough to hold but fluid enough to run slowly. Test on the edge of a chilled bowl before applying to the cake to control drip length.
- → How do I make the gold paint safe and shiny?
Use edible gold luster dust mixed with a small amount of vodka or clear lemon extract to create a paint. Apply to set drip with a clean food-safe brush. Ensure the luster dust is labeled edible, not metallic craft dust.
- → What is the best way to store and serve the cake?
Store refrigerated in an airtight container for up to 2–3 days. Bring to room temperature for 30–60 minutes before serving for optimal texture and flavor. Keep decorated cake away from heat and direct sunlight.