 Pin It
 The sizzle of chicken hitting a hot pan used to be my goal until I learned that the oven could do all the work and deliver even better results. One rainy Wednesday, I tossed seasoned thighs onto a sheet pan, slid them into the oven, and went to fold laundry. When I came back, the kitchen smelled like a smokehouse and the skin had turned into amber glass. I've never gone back to stovetop chicken since.
I made these for a small birthday dinner last spring, and my friend who claims to only eat chicken breast asked for the recipe before dessert arrived. Watching someone who usually pushes dark meat around their plate go back for seconds felt like a quiet victory. The lemon wedges were gone too, every last one squeezed over crispy, golden skin.
Ingredients
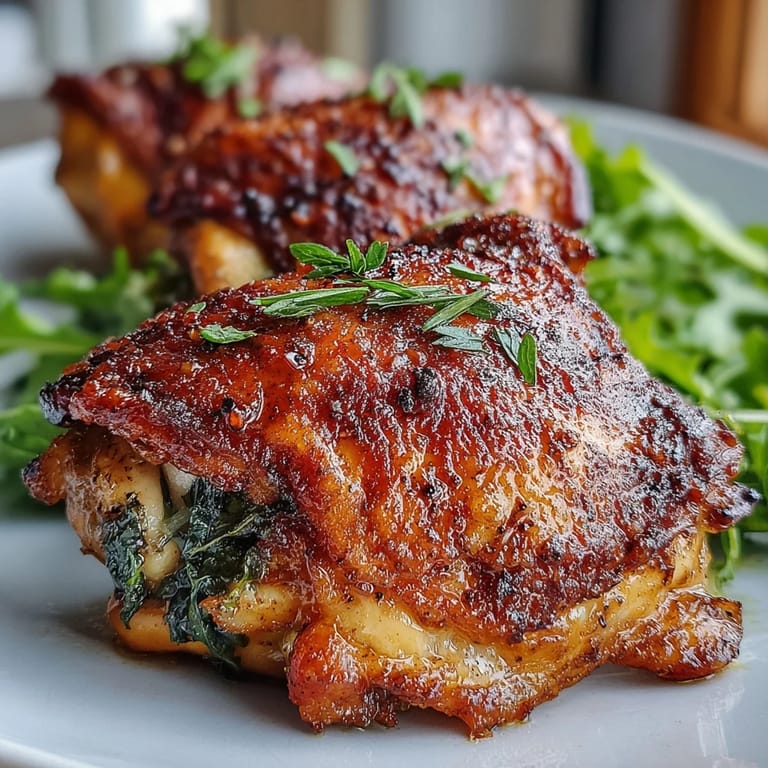
- Bone-in, skin-on chicken thighs: The bone keeps the meat tender and the skin becomes a burnished, crackling shield when baked properly.
- Olive oil: Just enough to help the spices cling and encourage browning without making anything greasy.
- Kosher salt: Draws out moisture for crispier skin and seasons the meat all the way through if you let it sit.
- Black pepper: Freshly ground pepper has a sharpness that pre-ground versions lose after a few months on the shelf.
- Garlic powder and onion powder: These add savory depth without burning the way fresh garlic would under high heat.
- Smoked paprika: This is the secret to that campfire aroma, the kind that makes people ask if you grilled outside.
- Dried thyme, oregano, and rosemary: A trio that smells like Sunday dinner and tastes like comfort with every bite.
- Baking powder: The aluminum-free kind raises the pH of the skin, helping it dry out faster and crisp up beautifully.
- Lemon wedges and fresh parsley: Bright, green, and acidic, they cut through the richness and make the plate look alive.
Tired of Takeout? 🥡
Get 10 meals you can make faster than delivery arrives. Seriously.
One email. No spam. Unsubscribe anytime.
Instructions
- Bring to Room Temperature:
- Pull the chicken out of the fridge about half an hour before cooking so it heats evenly. Cold meat straight from the refrigerator can cook unevenly, leaving you with rubbery skin and underdone centers.
- Dry Thoroughly:
- Use paper towels to blot every surface until the skin feels almost papery. Moisture is the enemy of crispiness, and this step matters more than any seasoning.
- Preheat and Prep the Pan:
- Set your oven to 425°F and position the rack near the top for better browning. Line a rimmed baking sheet with foil and add a wire rack if you have one, it lets hot air circulate under the chicken.
- Mix the Spice Blend:
- Combine all your dry seasonings in a small bowl and stir until the baking powder is evenly distributed. This ensures every thigh gets the same flavor and crispness.
- Oil and Season:
- Drizzle olive oil over the thighs and massage it into the skin, then shower them with the spice mix, pressing it in gently. The oil helps the spices stick and promotes that deep golden color.
- Arrange on the Rack:
- Place each thigh skin-side up with a little breathing room between them. Crowding traps steam and turns crispy dreams into soggy disappointment.
- Bake Until Golden:
- Slide the pan into the oven and bake for 35 to 45 minutes, depending on the size of your thighs. You are looking for deep golden skin and an internal temperature between 175°F and 190°F in the thickest part.
- Broil for Extra Crispiness:
- Turn on the broiler for the last 1 to 3 minutes if you want skin that shatters. Stand nearby and watch closely, broilers can go from perfect to charred in seconds.
- Rest Before Serving:
- Let the chicken sit on the pan for 5 to 10 minutes after it comes out. This lets the juices settle back into the meat instead of running all over your cutting board.
- Garnish and Serve:
- Transfer to a platter, scatter fresh parsley over the top, and tuck lemon wedges around the edges. Serve while the skin is still crackling.
 Pin It
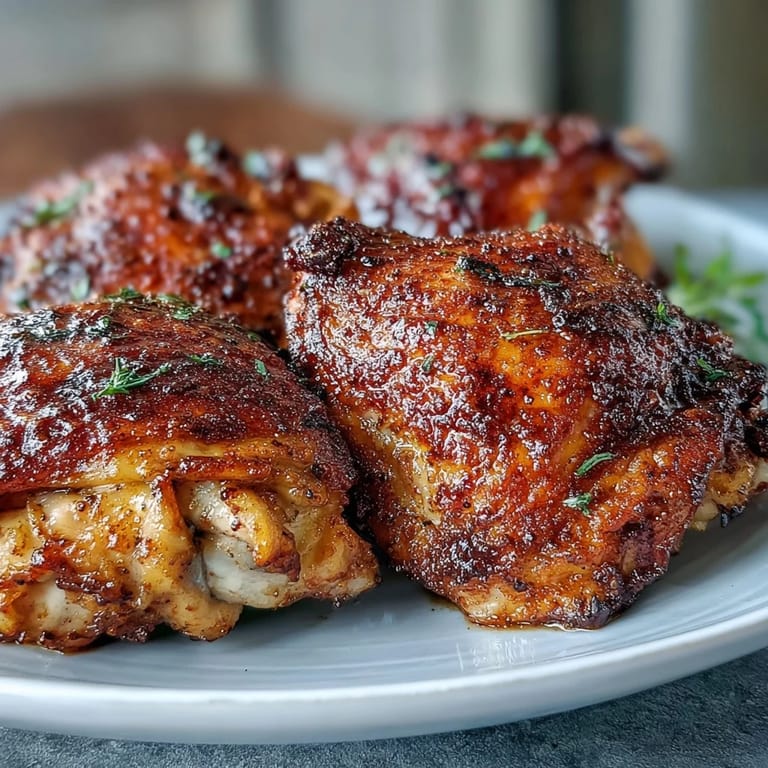
 The first time I served these at a casual backyard dinner, someone asked if I had a smoker hidden somewhere. I didn't have the heart to tell them it was just smoked paprika and a regular oven. That night, with string lights overhead and plates balanced on laps, those crispy thighs became the thing people remembered most.
Getting the Crispiest Skin
If you have time, salt the thighs and leave them uncovered on a rack in the fridge overnight. The cold, dry air pulls moisture from the skin, giving you an even crispier result. I started doing this after reading about it in a cookbook, and now it is hard to skip. The difference is subtle but undeniable, like the contrast between good and great.
What to Serve Alongside
These thighs pair beautifully with anything that can soak up the savory drippings. Mashed potatoes, roasted root vegetables, or even a pile of buttery rice all work. I have also served them over a big green salad with the lemon wedges squeezed everywhere, turning dinner into something lighter but still satisfying. The key is to let the chicken be the star and keep everything else simple.
Storing and Reheating
Leftovers keep well in the fridge for up to four days, though the skin will soften as it sits. When you are ready to eat them again, reheat in a 375°F oven or an air fryer for about 8 to 10 minutes. The high heat brings back some of that crackle, and honestly, leftover chicken thighs make excellent next-day lunches.
- Let the chicken cool completely before storing it in an airtight container.
- Avoid microwaving if you care about texture, it turns crispy skin into something sad and rubbery.
- Cold leftover thighs are also great pulled off the bone and tossed into grain bowls or tacos.
 Pin It
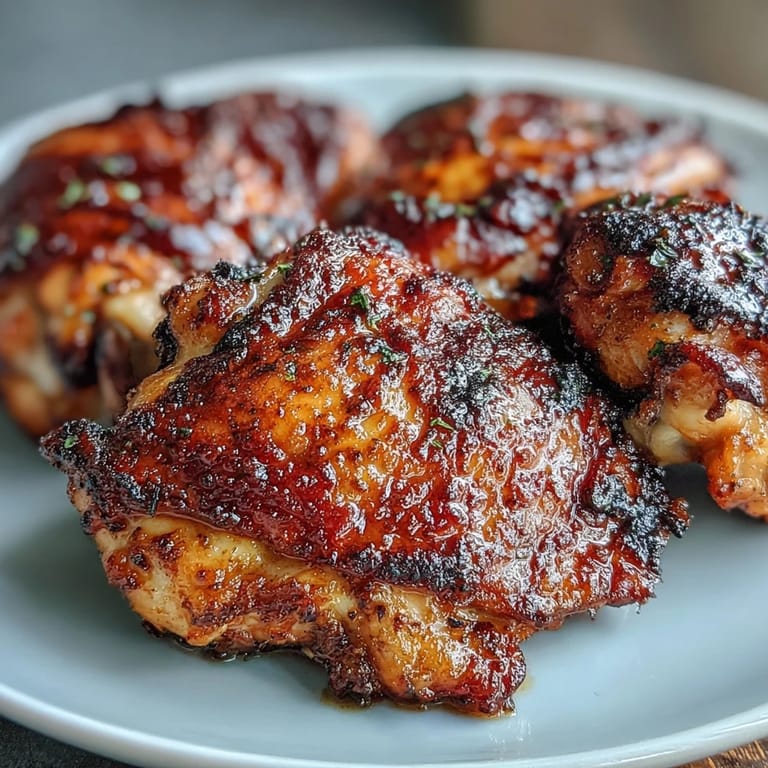
 There is something deeply satisfying about pulling a pan of burnished, crackling chicken out of the oven and knowing you did not have to stand over a stove to make it happen. This recipe has earned its place in my regular rotation, and I hope it does the same for you.
Recipe FAQs
- → What makes the skin so crispy?
The combination of thoroughly patting the skin dry, baking powder in the seasoning blend, high-heat baking at 425°F, and a final broil creates that irresistible crackling texture. The baking powder helps draw moisture out while the high heat renders the fat perfectly.
- → Why is a wire rack recommended?
A wire rack allows hot air to circulate completely around the chicken thighs, promoting even cooking and crisping on all sides. If you don't have one, placing the thighs directly on the foil-lined baking sheet still yields excellent results.
- → Can I use boneless chicken thighs instead?
Yes, boneless thighs work well but will cook faster—reduce baking time to 25–30 minutes. The skin won't get quite as crispy since there's less structure, but you'll still get delicious results with the same seasoning blend.
- → What's the purpose of letting chicken rest before cooking?
Bringing the chicken closer to room temperature ensures more even cooking throughout. Cold meat can result in overcooked exterior before the interior reaches the proper temperature. This simple step makes a noticeable difference in final texture.
- → Can I prepare the seasoning blend ahead of time?
Absolutely. Mix up a larger batch of the spice blend and store it in an airtight container for up to 3 months. This makes future preparations even faster—just coat the thighs with oil and sprinkle with the pre-mixed seasoning.
- → What internal temperature should I aim for?
Dark meat is best cooked to 175–190°F (80–88°C) in the thickest part. Unlike breasts, thighs remain juicy even at higher temperatures. A meat thermometer takes the guesswork out and ensures perfectly cooked meat every time.